Between 1981 and 1986, The Foolscap Gay Oral History Project collected over 100 oral histories with Canadian gay men born in the first half of the 20th century. These interviews, conducted by John Grube and Lionel Collier, were informed by conditions contemporaneous to the project: Operation Soap (police harassment of gay men), HIV/ AIDS, and the proliferation of queer community spaces and groups in Toronto.
These interviews were originally recorded on cassette tapes, which have been recently collected by the LGBTQ Oral History Digital Collaboratory and deposited at the Canadian Lesbian and Gay Archives (CLGA). In the last year, the Collaboratory has digitized and archived 100+ interviews, housed on over 100 cassette tapes.
In the process of archiving these cassette tapes, the Collaboratory has also developed guides outlining best practices for digitizing audio off of cassette tapes. This blog post is intended to offer you basic step-by-step instructions for cassette tape digitization, and some helpful hints and tips.
Your digitization set-up should involve three main hardware components: a cassette deck, your audio interface, and your computer. The cassette deck reads the cassette tape and outputs audio, the audio interface channels this audio from the deck to your computer, and the computer is where you will store your audio as a digital file. At the CLGA, the Collaboratory uses a Behringer UCA202 USB/Audio Interface, but there are many other options for audio interfaces out there. So, your audio will flow out the cassette deck, into the audio interface, and then out the audio interface and into your computer.
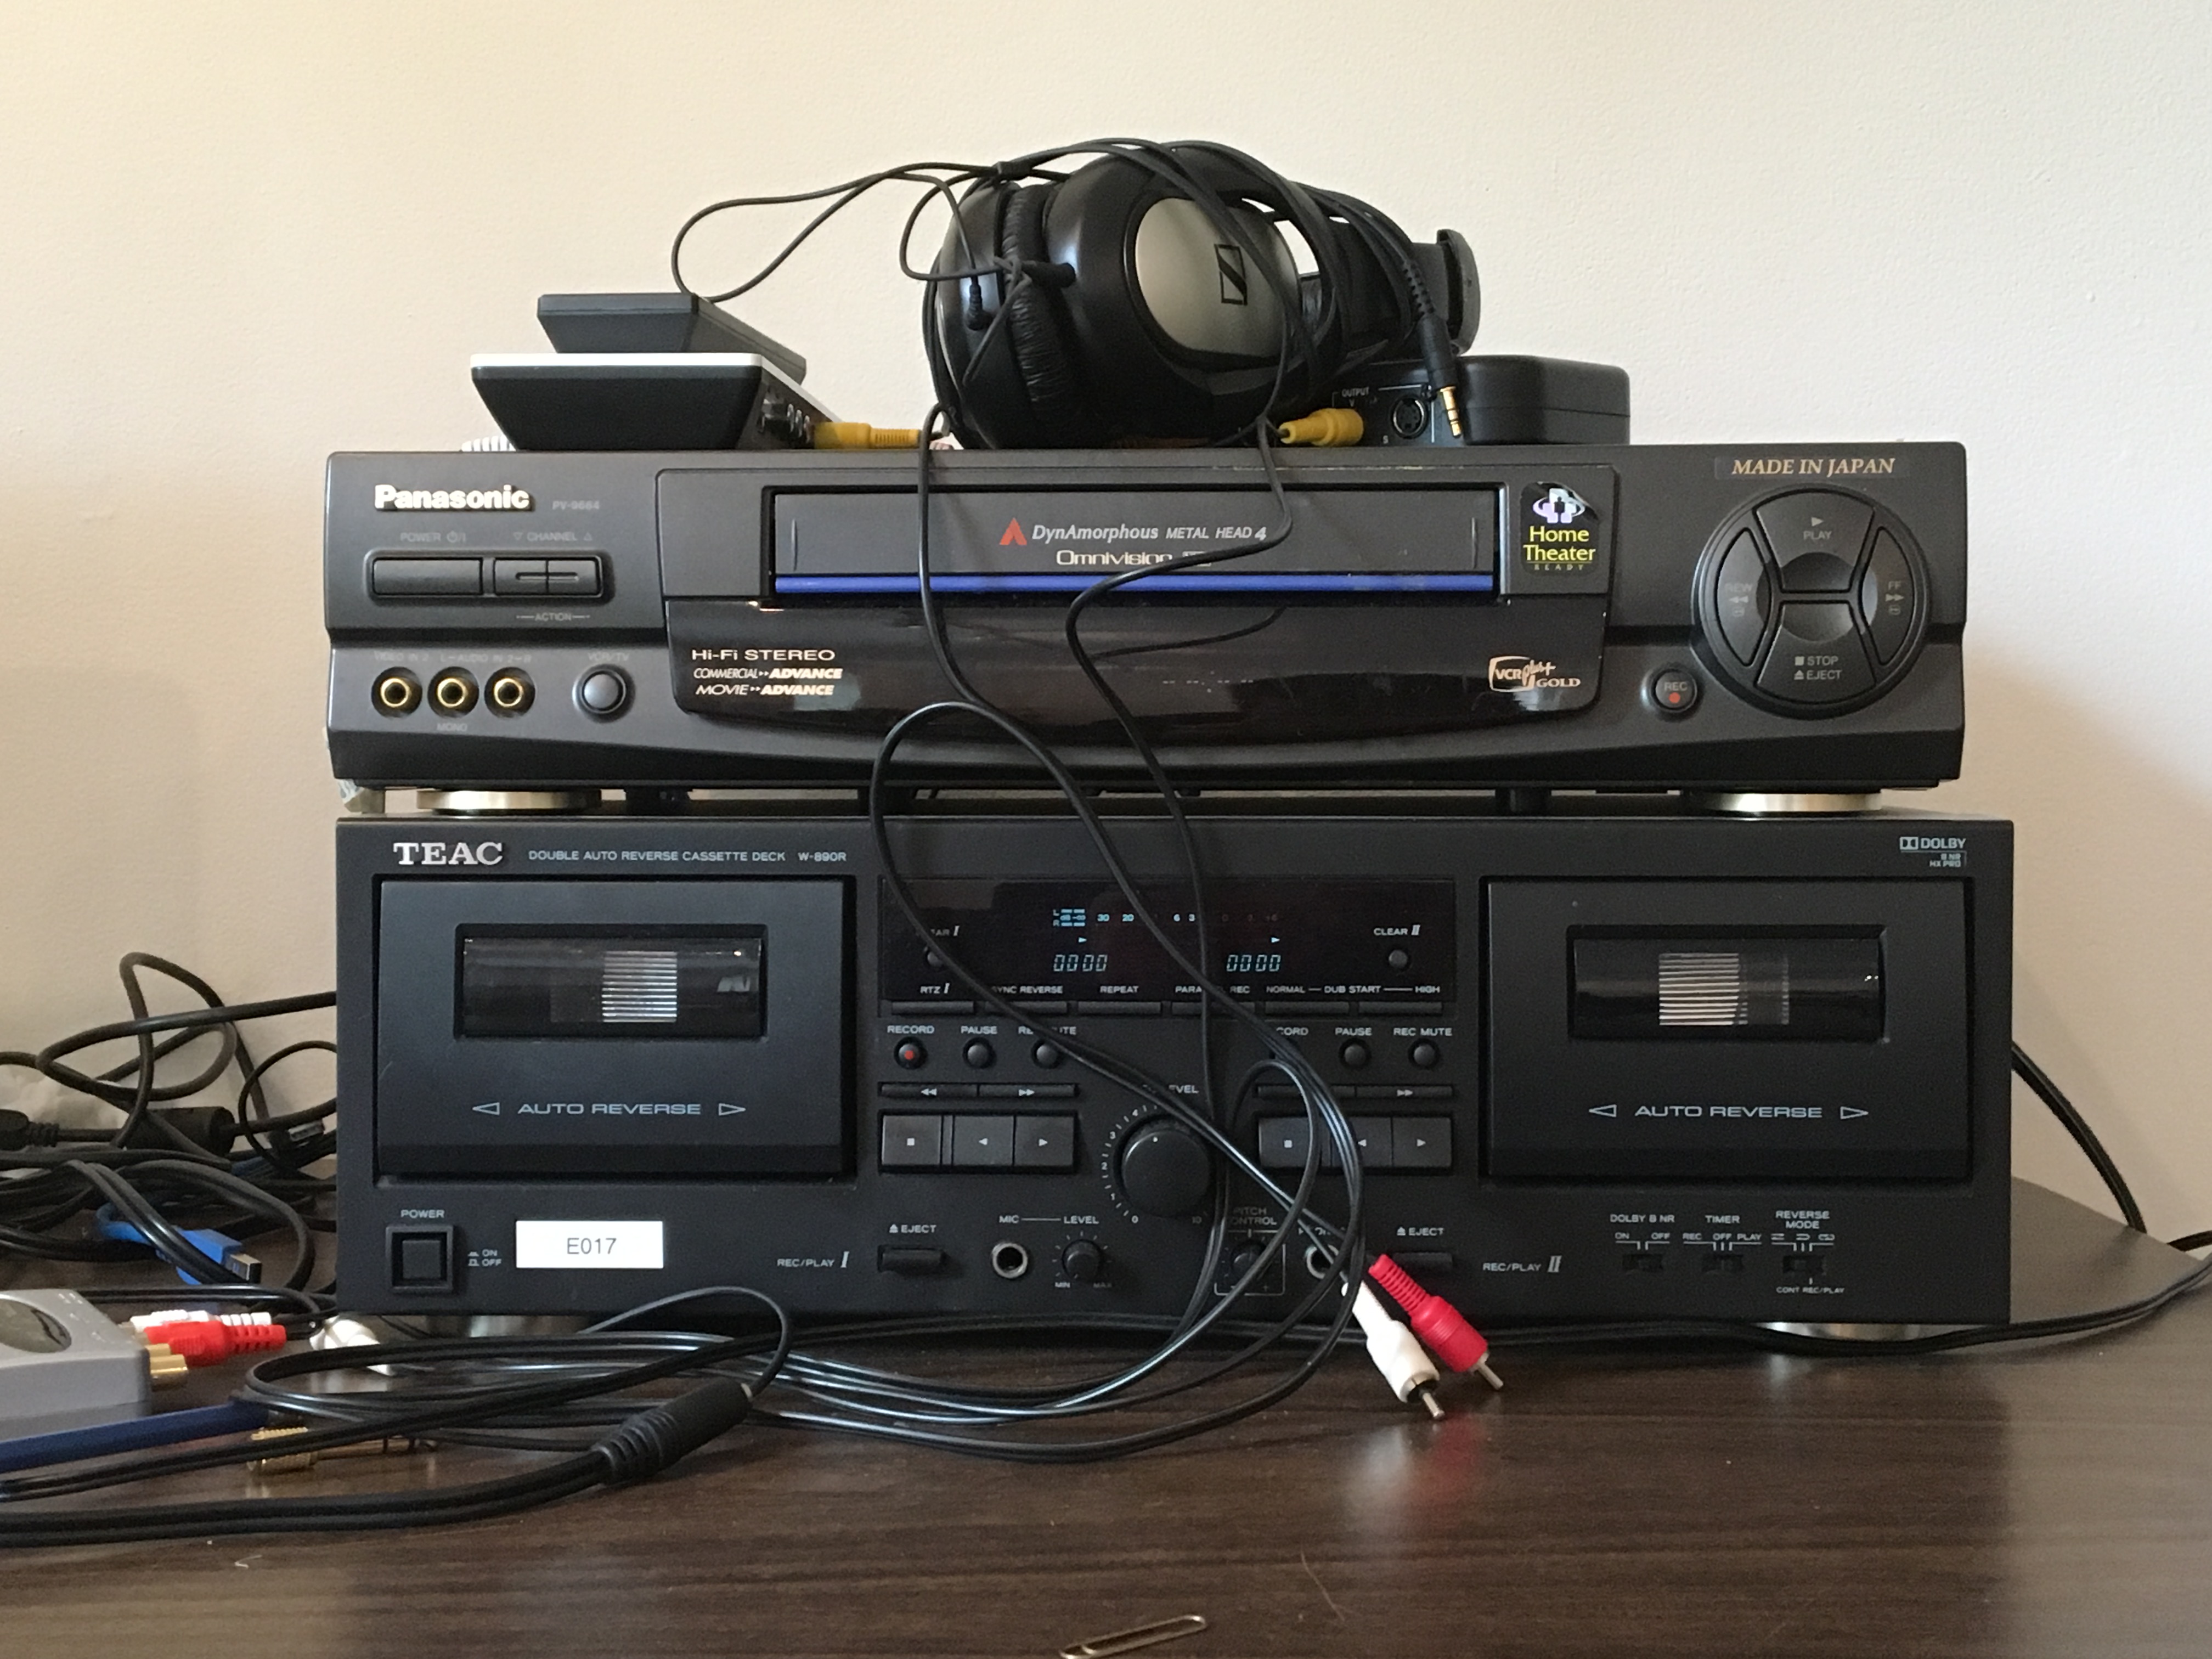
The VHS and cassette decks at the Nancy Nicol Digitization and Viewing Station at the CLGA.
You also need two pieces of software installed on your computer prior to digitization: your audio interface’s drivers and audio editing software. We recommend Audacity for audio editing: the program is totally free, very stable and user friendly, offers noise reduction.
Before digitizing any cassette tape, one should always inspect the tape. Make sure there is no visible dirt or debris on the tape. Manually turn the spindles a few times using a pencil and make sure they turn freely. If you have any concerns about the condition of the tape, set it aside. Playing a dirty tape in your cassette deck can permanently damage the tape and the deck.
Next, determine whether the tape you are digitizing has been recorded using Dolby Noise Reduction. To do this, put the tape in your cassette deck and listen to the tape while toggling Dolby NR on and off. If the audio signal sounds like it has lost high frequency response when the Dolby NR switch is ON, then make sure the switch is set to OFF when digitizing.
Now, you can open your audio editing software. Make sure your input is set to your audio interface. Begin recording on your audio editing software, and press play on your cassette deck. The software will begin recording the tape, and you can listen as it records real time via your audio output of choice. It is important that you listen to the recording through the computer, not the interface or deck, so you are hearing the quality of your digital version. Continue to monitor the sound until the end of the tape; avoid leaving the recording unattended unless necessary.
Once your tape is done playing, stop the recording. You are now ready to edit and save your digital audio recording! If you plan on putting the audio through post-production (ie. noise reduction, clipping, etc.), we recommend first saving an unedited, preservation-quality master file.
Depending on your equipment and software, the details of this process may change. However, the workflow should remain generally the same. We hope that this guide is relatively helpful, and wish you the best of luck with your archival audio digitization endeavours!

